Behind the scenic drives and cozy campfires lies a crucial aspect of RV life that all travelers must master—managing RV waste. Though it may not be the most glamorous topic of conversation, understanding how to use RV dump stations properly is essential to the journey. From knowing the ins and outs of your holding tanks to the difference between potable and non-potable water, this comprehensive guide will walk you through everything you need to know. We'll equip you with the knowledge, tips, and best practices to ensure smooth, sanitary, and enjoyable trips.
Looking for something specific? 👇
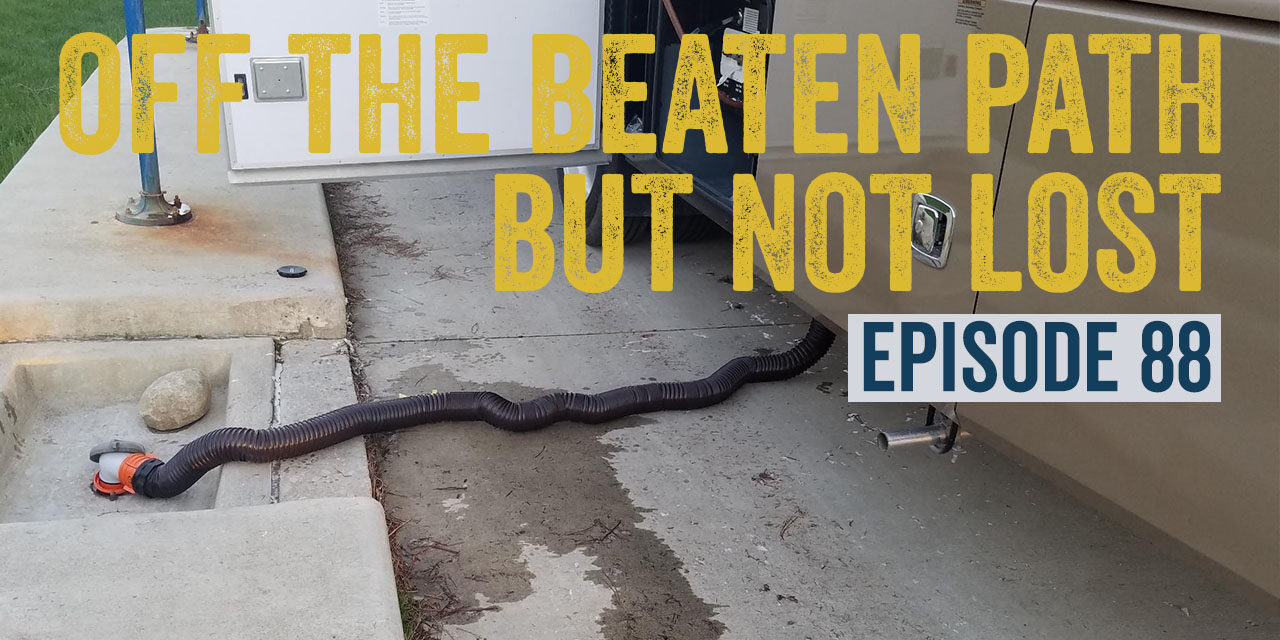
Listen to the podcast
Hey adventurers! 🚐
Did this episode spark some wanderlust, or did it remind you of one of your own off-the-beaten-path stories? If you felt that campfire friendship while listening, we would be super grateful if you’d take a moment to pop over to Apple Podcasts. Please leave us a rating, maybe say hi in the review section, and don’t forget to subscribe. It’s like giving a friendly nod to a fellow RVer on the open road.
Do you have a hidden gem of a location you think we should explore next? Or maybe a practical tip for full-time RV living? Leave us a message—this journey is all the richer when shared with the community.
🏞️ Safe travels, and see you down the road!
SUBSCRIBE: APPLE PODCASTS | PODBEAN | SPOTIFY | IHEART RADIO | PANDORA | TUNEIN | Plus, almost all podcasting apps. Let us know if you can't find us on your app.
What does everything mean?
Let's start with understanding the term ‘Dump Station.' It's where the sewage and wastewater from your RV's holding tanks are safely and legally disposed of. Holding Tanks are the reservoirs in your RV that store waste until disposal. You have a grey water tank containing sink and shower drainage and a black tank housing toilet waste. Knowing the size of your tanks and how long you can go between dumps is crucial, as it informs your travel plans.
When it's time to empty these tanks, you'll use a sewer hose, a durable, flexible hose designed to connect your RV's sewage system to the dump station inlet. Besides, you'll encounter two types of water at dump stations potable water, which is safe to drink or use for cooking, and non-potable water, which is not suitable for consumption but used for flushing out sewer hoses.
How to Find RV Dump Stations
Many campgrounds may offer partial hookups but still provide essential dump stations for waste disposal. You'll also find dump stations at National Parks, state campgrounds, and even larger gas stations catering to RV travelers. It's not always about looking around—technology has made this task even easier. Mobile apps and websites like Campendium, IOverlander, Harvest Hosts, and the comprehensive rvdumpsites.net offer information on dump station locations, hours, and fees.
Using an RV Dump Station
If you're not staying at the campground, you should ask for permission and pay any necessary fees before using the dump station. When you approach a dump station, you'll find a fairly straightforward layout, usually consisting of a concrete or asphalt pad with a sewer inlet. This inlet is where you'll connect your sewer hose to dispose of your RV's waste.
There's often a non-potable water source for rinsing your hose and a waste receptacle for disposable items. Potable water may also be available for freshwater usage. The process begins with preparing your gloves and sewer hose, attaching it securely, and releasing your black and grey water tank valves in that order. The latter helps flush residues from the black water in the sewer hose. After emptying, close the valves, rinse the hose with non-potable water, detach, clean, and store it.
To make this process efficient and clean, use heavy-duty disposable gloves, keep specific tools for the dumping process, consider tank treatment products, and always double-check hose connections to prevent spillage. The objective is to leave the area spotless for the next user, ensuring a smooth and responsible RVing experience.
Best practices
There might be a line to use the dump station during peak travel times. Cleanliness is very important at dump stations—after emptying your tanks, rinse and clean the area thoroughly, dispose of your gloves and cleaning materials in the provided waste bins, and if anything spills, clean it up at once. Your goal should always be to leave the station as clean, if not cleaner than you found it.
It's essential to mention the sanitization process, which involves cleaning the RV's water system. Greg & Tammy from ‘Chasing the Cashes' have a new business with KleenTank. We love this service and have used it before.
Your Rights and Responsibilities as an RVer
RV owners must be aware of the laws and regulations about waste disposal in the jurisdictions they're traveling in, as illegal disposal can lead to hefty fines, penalties, and even imprisonment. For example, the Clean Water Act in the U.S. makes it unlawful to dump sewage waste into navigable waters, and many states prohibit disposal at non-designated sites.
Policies can vary widely; some parks provide dump stations free of charge, while others may require a fee or only offer them during specific hours. RVers must research the policies of the parks they plan to visit and any local laws regarding waste disposal.
Though some areas (such as BLM lands) may permit dumping grey/wash water on the ground, this remains a contentious issue. Research is vital, and such actions should be considered only in extreme necessity, with careful containment of gray water from showers or sinks. Even where legal, dumping gray water is widely frowned upon and contradicts the “Leave No Trace” pledge that all RVers and campers are encouraged to uphold.


